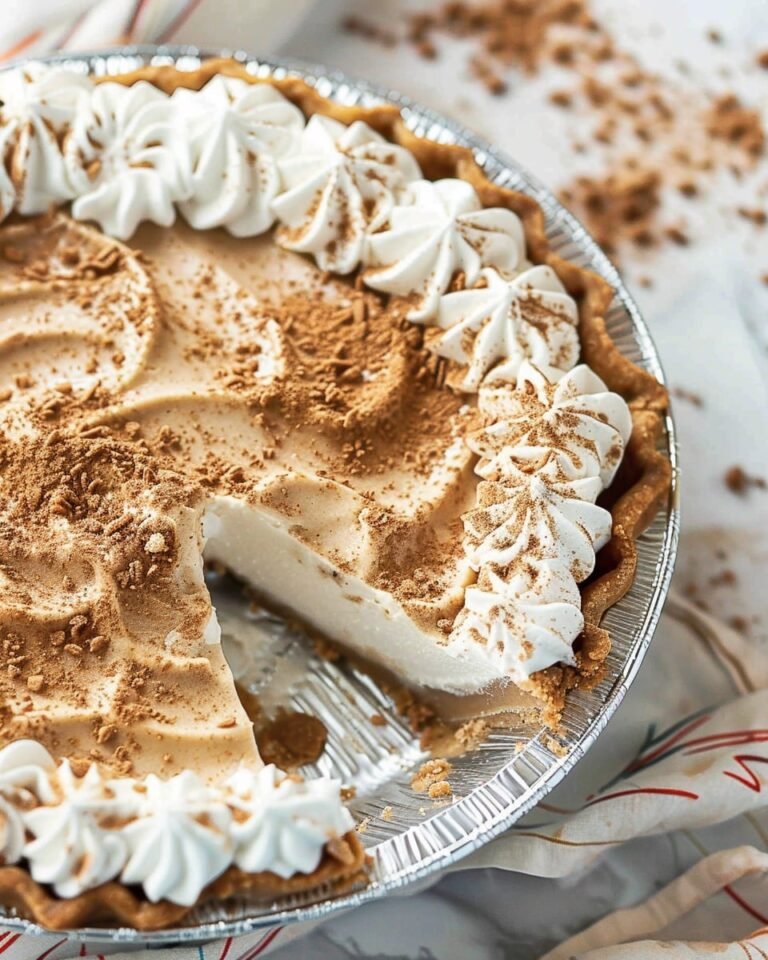
No-Bake Greek Yogurt Cheesecake
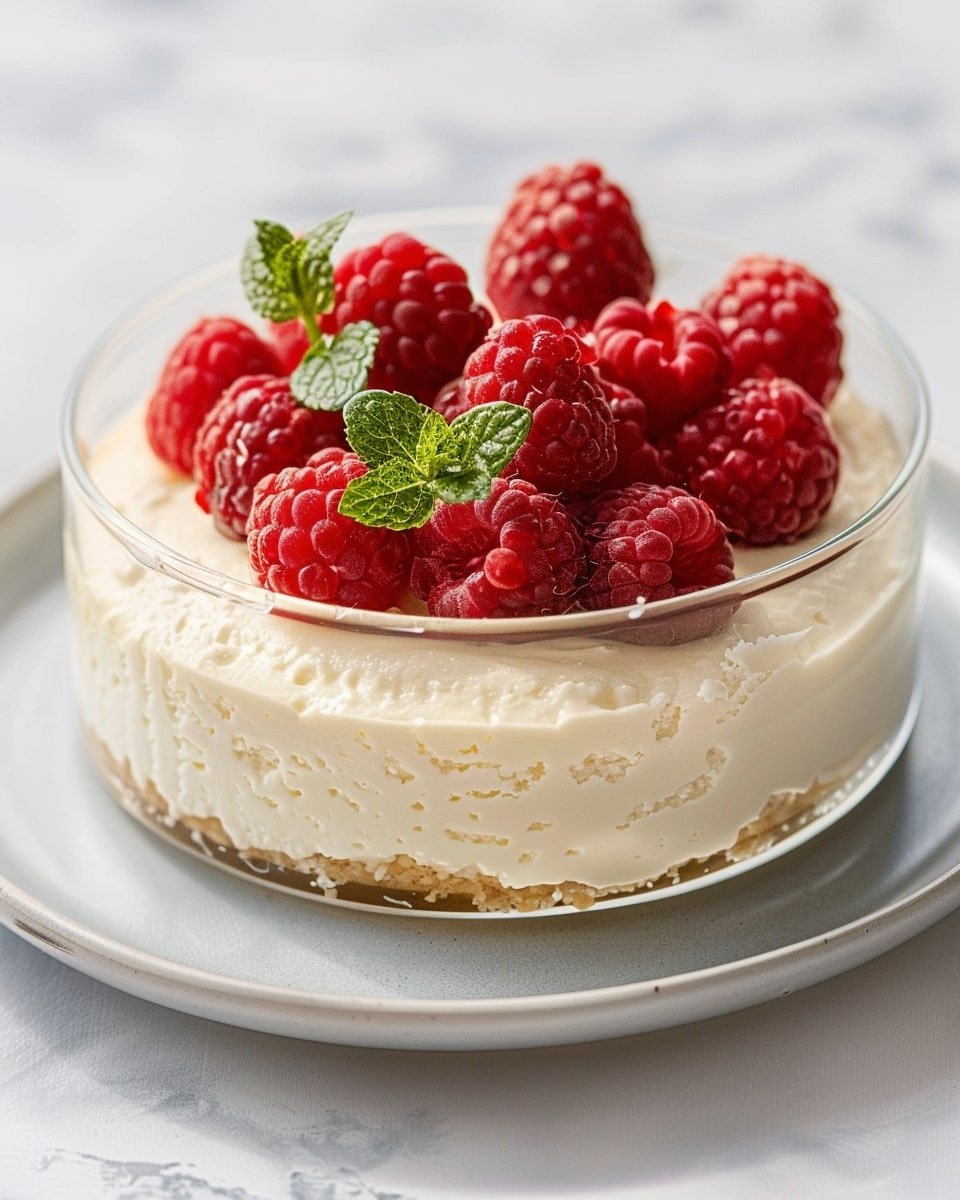
There’s something magical about a cheesecake. Just the thought of that creamy filling resting on a buttery crust can make your day a little brighter. But maybe you’ve avoided making one because you don’t want to turn on the oven, or you’re searching for a lighter option that won’t leave you feeling weighed down. That’s where a No-Bake Greek Yogurt Cheesecake comes in. It gives you all the indulgence you crave with a refreshing twist, thanks to Greek yogurt’s tangy flavor and silky texture.
Why Choose No-Bake Greek Yogurt Cheesecake?
A Healthier Take on a Classic
-
Greek yogurt brings protein and probiotics, making it more nourishing than heavy cream-based versions.
-
It reduces the calorie load without taking away the rich, creamy experience.
Stress-Free Dessert Option
-
No oven needed—just a fridge and a little patience while it chills.
-
Perfect for hot days when you want a cool dessert without heating up your kitchen.
Crowd-Pleasing Flavor
-
The slight tang from Greek yogurt balances the sweetness, giving a refreshing finish.
-
Works beautifully with endless toppings: berries, chocolate drizzle, or even a swirl of honey.
Ingredients You’ll Need for Greek Yogurt Cheesecake
To create the perfect cheesecake, here’s what you’ll want to gather:
For the crust:
-
1 ½ cups crushed graham crackers or digestive biscuits
-
5 tablespoons melted butter
-
2 tablespoons sugar (optional, for added sweetness)
For the filling:
-
2 cups plain Greek yogurt (full-fat works best for creaminess)
-
8 oz cream cheese, softened
-
½ cup honey or maple syrup (natural sweetness pairs beautifully with yogurt)
-
1 teaspoon pure vanilla extract
-
2 teaspoons lemon juice (adds brightness)
-
1 tablespoon unflavored gelatin (or agar-agar for a vegetarian option)
-
¼ cup warm water (to dissolve the gelatin)
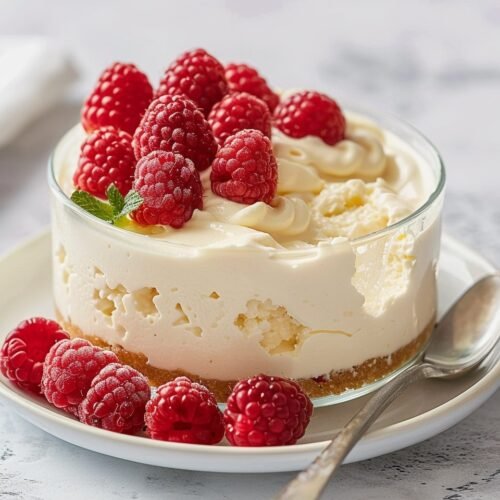
For the topping (optional):
-
Fresh berries like blueberries, raspberries, or sliced strawberries
-
A drizzle of honey or dark chocolate
-
Shaved nuts or granola for crunch
Step-by-Step Instructions for No-Bake Cheesecake
Step 1: Prepare the crust
-
Crush the graham crackers into fine crumbs using a food processor or by sealing them in a bag and rolling with a pin.
-
Mix crumbs with melted butter and sugar until the mixture resembles wet sand.
-
Press firmly into the bottom of a springform pan or pie dish.
-
Chill in the fridge for at least 20 minutes to set.
Step 2: Make the creamy filling
-
In a large bowl, beat the cream cheese until smooth.
-
Add Greek yogurt, honey (or maple syrup), vanilla, and lemon juice. Blend until creamy.
-
Dissolve gelatin in warm water and let it cool slightly before stirring into the mixture.
-
Pour the filling over the chilled crust, spreading evenly.
Step 3: Chill and set
-
Refrigerate for at least 4 hours, ideally overnight, for the best texture.
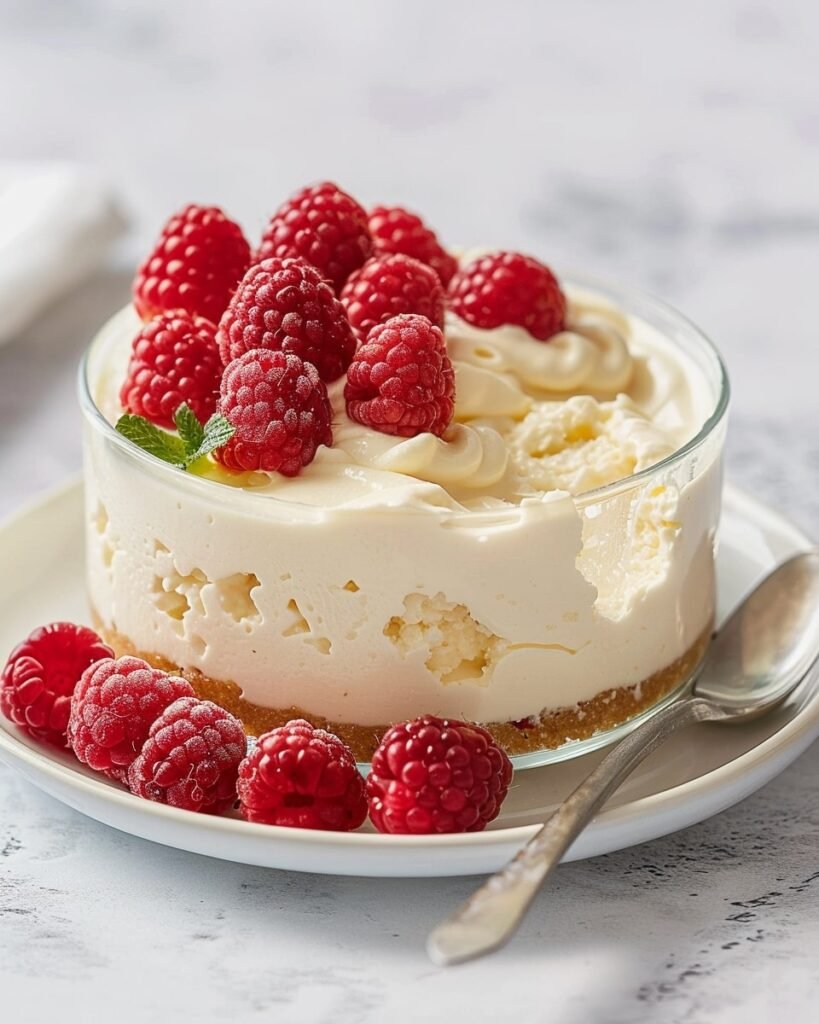
Step 4: Add toppings
-
Once firm, decorate with fresh fruit, drizzle honey or chocolate, or keep it simple and let the cheesecake speak for itself.
Variations You Can Try
Fruit Swirl Cheesecake
-
Add a layer of pureed strawberries or blueberries before chilling.
-
Swirl with a toothpick for a pretty marbled effect.
Chocolate Greek Yogurt Cheesecake
-
Mix in ½ cup melted dark chocolate into the filling for a richer twist.
-
Top with shaved chocolate or cocoa powder.
Mini Cheesecakes
-
Use muffin tins lined with cupcake liners for personal-sized servings.
-
Perfect for portion control or party trays.
Tips for Success
-
Use full-fat Greek yogurt for the creamiest texture. Low-fat versions can make the filling watery.
-
Don’t skip the chilling time. The longer it sets, the firmer and easier it will be to slice.
-
Press the crust firmly. This keeps it from crumbling when you cut into the cheesecake.
-
Experiment with toppings. From caramel drizzle to tropical fruits, this cheesecake adapts to your taste.
Why This Dessert Fits Every Occasion
-
Family gatherings: Light enough for everyone to enjoy after a big meal.
-
Summer parties: Refreshing and chilled, making it perfect for warm weather.
-
Everyday treat: Easy to prepare ahead and keep in the fridge for whenever your sweet tooth calls.
FAQs
1. Can I make this cheesecake without gelatin?
Yes! You can use agar-agar as a vegetarian substitute, or let the cheesecake set longer for a softer, mousse-like texture.
2. How long does No-Bake Greek Yogurt Cheesecake last in the fridge?
It keeps well for 4–5 days when stored in an airtight container.
3. Can I freeze Greek yogurt cheesecake?
You can, but the texture may change slightly after thawing. Freeze slices individually for convenience.
4. Can I use flavored yogurt?
Plain yogurt works best because flavored versions add extra sugar and may alter the balance of the filling. If you want flavor, add fresh fruit or extracts.
5. Is this cheesecake healthier than traditional cheesecake?
Yes. With protein-rich Greek yogurt and less sugar, it’s a lighter version but still rich and satisfying.
Conclusion
Making a No-Bake Greek Yogurt Cheesecake is about more than just putting dessert on the table. It’s about finding a balance between indulgence and nourishment, between simplicity and elegance. You get a dessert that’s creamy, tangy, lightly sweet, and endlessly customizable all without ever turning on the oven.
No-Bake Greek Yogurt Cheesecake
Ingredients
- For the Crust:
- 1 ½ cups graham cracker crumbs or digestive biscuits
- 5 tbsp unsalted butter melted
- 2 tbsp granulated sugar optional
- For the Filling:
- 2 cups plain full-fat Greek yogurt
- 8 oz cream cheese softened
- ½ cup honey or maple syrup
- 1 tsp pure vanilla extract
- 2 tsp fresh lemon juice
- 1 tbsp unflavored gelatin or agar-agar for vegetarian option
- ¼ cup warm water to dissolve gelatin
- For the Topping Optional:
- Fresh berries blueberries, raspberries, strawberries
- Honey or dark chocolate drizzle
- Shaved nuts granola, or coconut flakes
Instructions
- Make the Crust: Mix graham cracker crumbs, melted butter, and sugar until combined. Press firmly into the bottom of a springform pan or pie dish. Chill for 20 minutes.
- Prepare the Filling: Beat softened cream cheese until smooth. Add Greek yogurt, honey, vanilla, and lemon juice. Mix until creamy.
- Add Gelatin: Dissolve gelatin in warm water. Let cool slightly, then stir into the filling mixture until fully combined.
- Assemble: Pour filling over the chilled crust and smooth the top.
- Chill: Refrigerate for at least 4 hours (or overnight) until firm.
- Top & Serve: Garnish with fresh fruit, honey, or chocolate just before serving.
Notes
- Full-fat yogurt yields the best texture.
- Chill thoroughly to help the cheesecake set properly.
- For vegetarian version, use agar-agar instead of gelatin.
- Store leftovers in the fridge up to 5 days.
- Mini cheesecakes can be made in muffin tins for individual portions.