Holiday Pinwheel Cookies Very Simple
The holidays have a special way of bringing people together — laughter filling the kitchen, the scent of sugar and butter swirling through the air, and that warm feeling that only comes from baking something from scratch. Holiday Pinwheel Cookies capture all of that joy in one colorful, buttery swirl. They’re the kind of treat that instantly brightens up a dessert table and makes you feel like a kid again, waiting to grab the first one off the tray.
These cookies are more than just festive sweets — they’re edible memories. Whether you’re baking them with your kids, making gifts for friends, or adding a pop of color to your cookie exchange, there’s something special about watching those perfect spirals bake into golden perfection. Let’s dive into how you can make your own and bring a touch of magic to your holiday season.
What Are Holiday Pinwheel Cookies?
A Festive Classic with a Twist
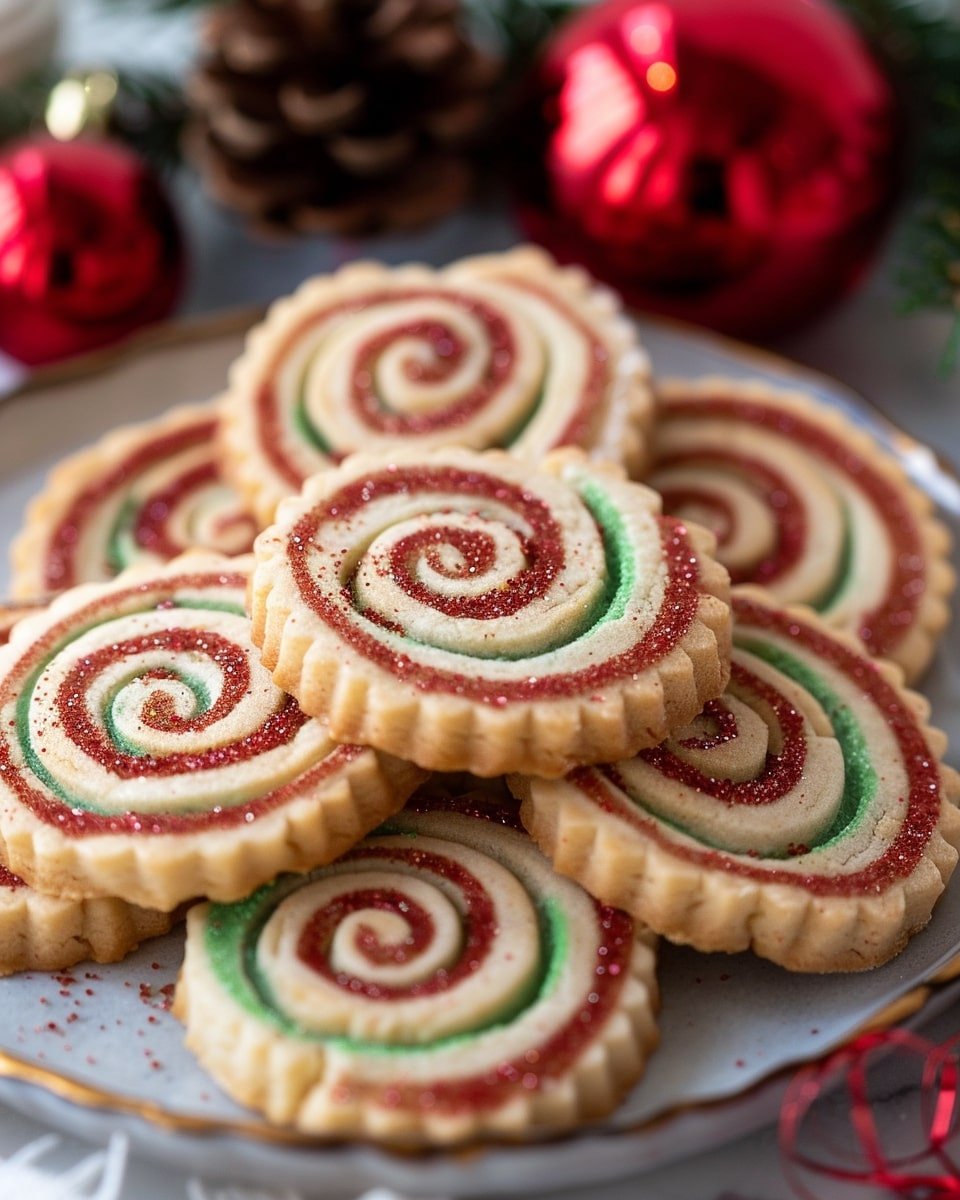
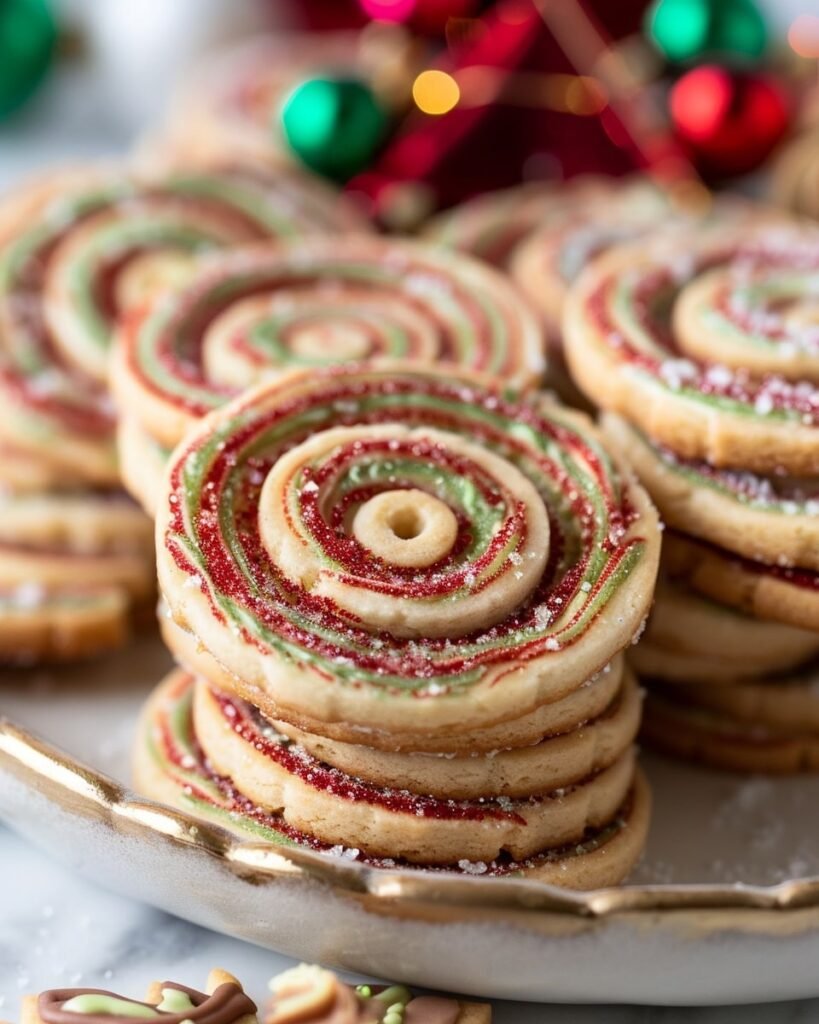
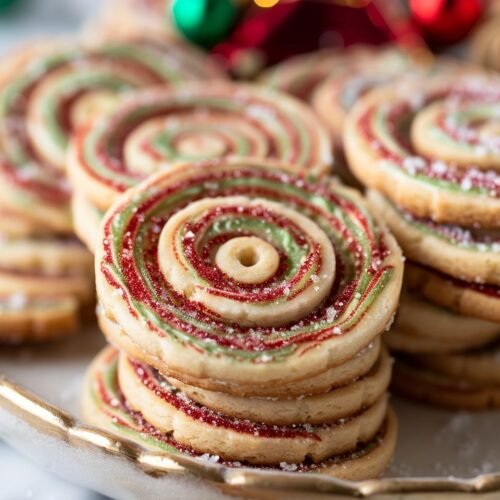
If you’ve never made Holiday Pinwheel Cookies before, imagine a soft, buttery sugar cookie with a swirl of color that looks like a Christmas ornament baked right into the dough. The design comes from layering two colored doughs, rolling them together, and slicing into beautiful spiral rounds.
They’re the perfect mix of nostalgic and impressive — the kind of cookie that looks store-bought but is surprisingly simple to make. You can stick with classic red and green or get creative with gold, white, or even peppermint-themed swirls.
Why Everyone Loves Them
There’s a reason these cookies make an appearance at every holiday party:
-
They look stunning on any dessert table.
-
The buttery texture melts in your mouth.
-
They’re fun and easy to make, even with kids.
-
You can prepare them in advance — ideal for busy holiday weeks.
Ingredients You’ll Need
Before you start, make sure your kitchen is stocked with the right ingredients. Having everything ready helps keep the process smooth and enjoyable.
Basic Dough Ingredients
-
Unsalted butter – gives that rich, creamy flavor.
-
Granulated sugar – adds sweetness and helps with the cookie’s structure.
-
Vanilla extract – enhances the flavor and warmth.
-
All-purpose flour – forms the base of your dough.
-
Baking powder – ensures a light, tender texture.
-
Salt – balances the sweetness.
Festive Additions
-
Red and green gel food coloring – for that cheerful holiday swirl.
-
Optional flavorings: peppermint, almond, or even cocoa powder for a chocolate layer.
-
Sprinkles or sanding sugar – for a decorative touch around the edges.
Pro Ingredient Tips
-
Use gel food coloring — it gives vibrant color without thinning the dough.
-
Chill your dough before rolling — it makes it easier to shape and slice.
-
Don’t skip the salt — it makes the sweetness stand out beautifully.
Step-by-Step: How to Make Holiday Pinwheel Cookies
Step 1: Make the Dough
Start by creaming together your butter and sugar until light and fluffy — this step gives your cookies that perfect texture. Add the egg and vanilla extract, mixing just until combined. Slowly blend in your dry ingredients (flour, baking powder, salt) until a soft dough forms.
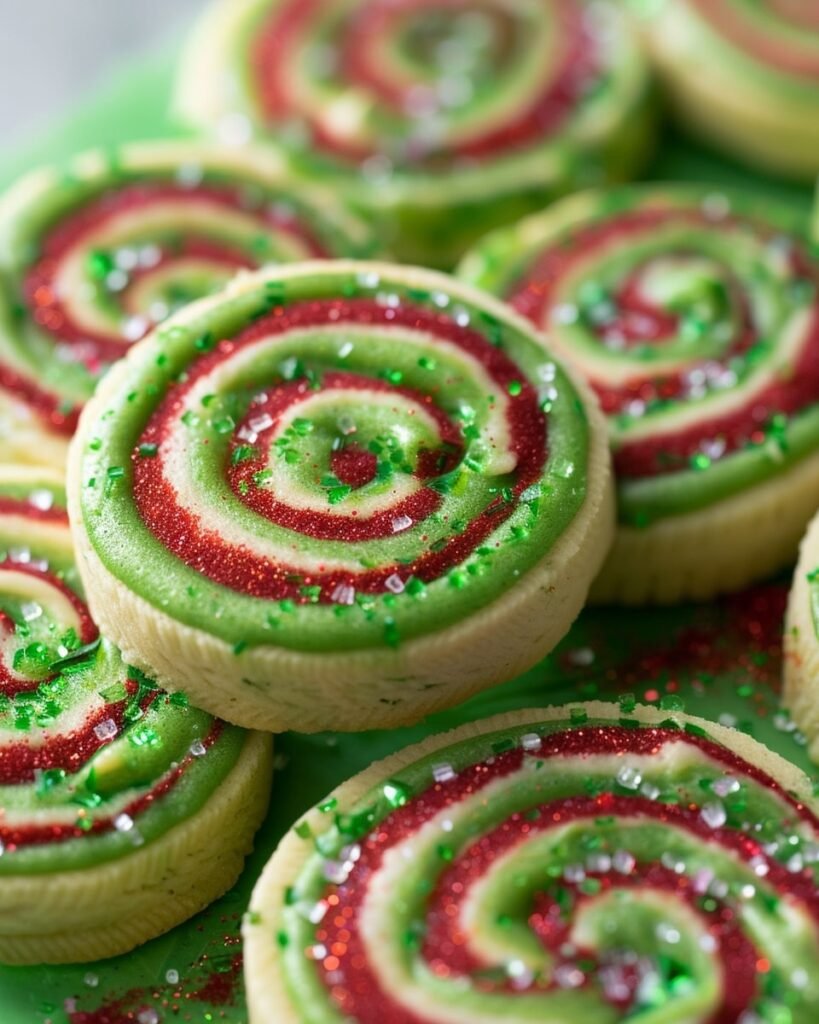
Divide the dough in half. Add red food coloring to one half and green to the other (or any colors you prefer). Mix each until evenly colored.
Step 2: Roll and Layer
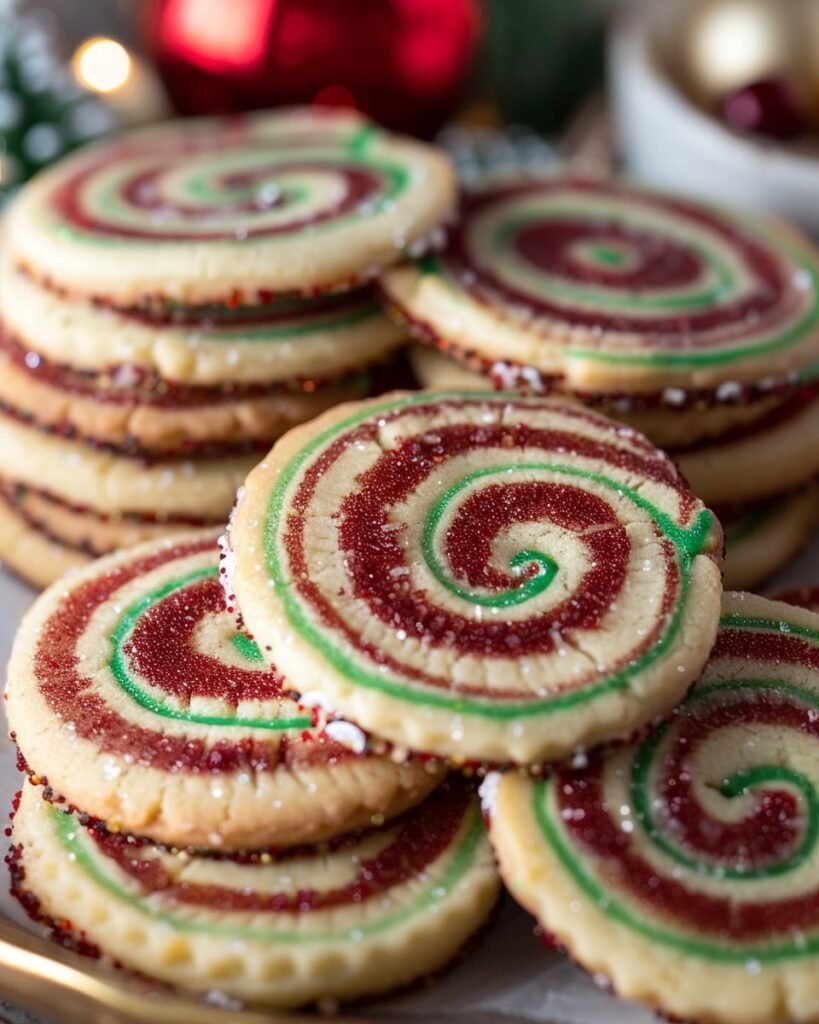
Roll each portion of dough between sheets of parchment paper into a rectangle, about ¼ inch thick. Stack one layer over the other carefully — a bit of water brushed between them helps them stick together. Then, starting from one long edge, roll the dough tightly into a log shape to form your swirl.
Step 3: Chill the Dough
Wrap the dough log in plastic wrap and refrigerate for at least 1–2 hours. This step is crucial — it helps the dough firm up so your swirls stay neat when slicing.
Step 4: Slice and Bake
Preheat your oven to 350°F (175°C). Slice your dough into ¼-inch rounds and place them on a parchment-lined baking sheet. Bake for 8–10 minutes, just until the edges are set. The cookies should look soft in the center when you take them out — they’ll firm up as they cool.
Step 5: Cool and Enjoy
Let the cookies cool completely on a wire rack. Once cooled, you can enjoy them as-is or add a fun drizzle of white chocolate for extra sweetness.
Decorating and Presentation Ideas
Part of what makes Holiday Pinwheel Cookies so special is how you can make them your own. Here are some ideas to dress them up:
-
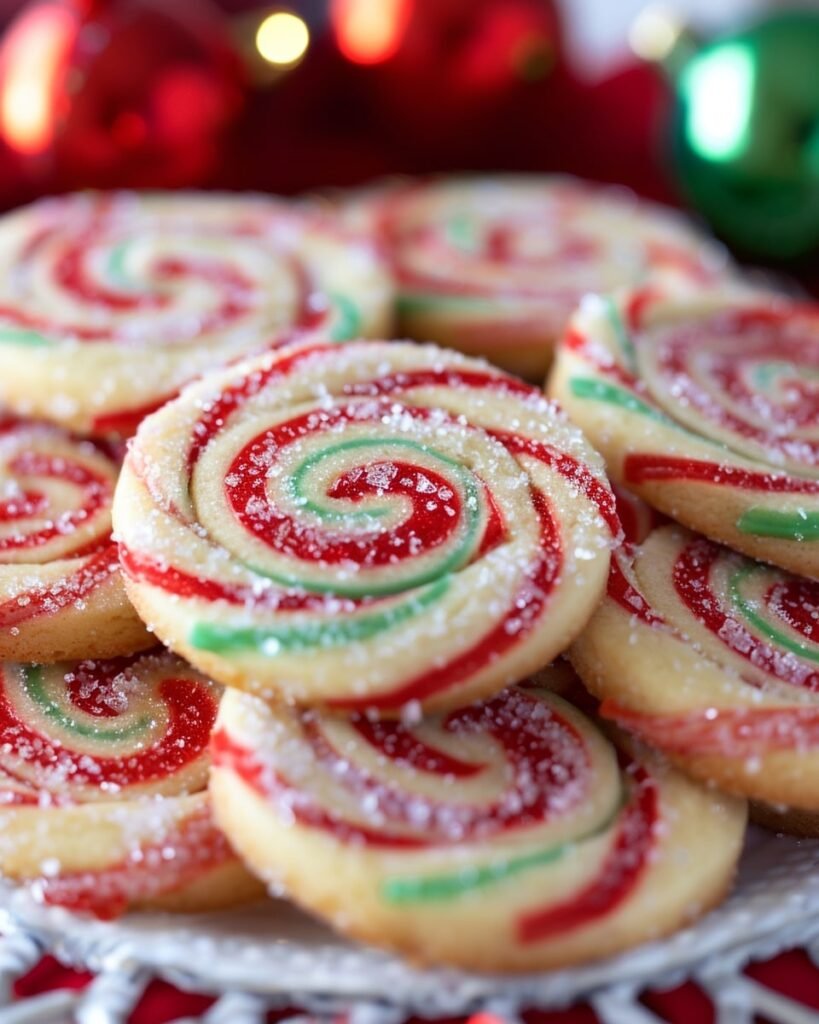
Add sparkle: Roll the dough logs in colored sugar or sprinkles before slicing.
-
Drizzle with chocolate: A light drizzle of melted white chocolate adds a pretty contrast.
-
Make sandwich cookies: Spread a bit of vanilla frosting between two cookies for an extra indulgent treat.
-
Gift them beautifully: Stack a few in clear bags, tie with a ribbon, and add a handwritten tag — perfect for neighbors or teachers.
Pro Tips for Success
Even though these cookies look impressive, a few simple tricks can make your results even better:
-
Keep the dough cold: Warm dough will lose its shape and blur the swirl.
-
Use parchment paper: It prevents sticking and helps roll the dough evenly.
-
Cut cleanly: Use a sharp knife and slice straight down for perfect spirals.
-
Don’t overbake: The cookies should stay soft, not crunchy.
Storage and Freezing Guide
One of the best things about this recipe is how well it stores. You can easily make these ahead of time to save stress during the holidays.
-
At room temperature: Store cookies in an airtight container for up to 5 days.
-
In the fridge: Keep dough logs in the fridge for up to 1 week before baking.
-
In the freezer: Wrap unbaked dough tightly and freeze for up to 3 months. When ready, thaw slightly before slicing and baking.
Why Holiday Pinwheel Cookies Deserve a Spot on Your Table
These cookies don’t just look festive — they bring people together. They’re conversation starters, memory makers, and simple reminders of what the holidays are really about: warmth, creativity, and togetherness.
They’re also practical. You can make them ahead of time, store them easily, and customize them to fit any celebration. Whether you prefer traditional red and green or something unique like chocolate and white, these cookies fit perfectly into every holiday celebration.
Frequently Asked Questions
1. Can I make Holiday Pinwheel Cookies ahead of time?
Absolutely! Prepare the dough and store it in the fridge for up to a week or freeze it for longer. Slice and bake whenever you’re ready.
2. How do I prevent the swirls from smudging?
Keep your dough cold. If it starts to soften as you slice, pop it back into the fridge for a few minutes.
3. Can I use natural food coloring?
Yes — try beet powder for red, matcha for green, or turmeric for yellow. The colors will be softer but still beautiful.
4. Can I make these cookies gluten-free or vegan?
Of course! Use a gluten-free flour blend and vegan butter. For eggs, substitute flaxseed meal mixed with water or unsweetened applesauce.
5. How long do Holiday Pinwheel Cookies stay fresh?
They stay delicious for about a week when stored properly in an airtight container.
Conclusion
At the heart of every holiday memory lies something simple — like the smell of cookies fresh from the oven. Holiday Pinwheel Cookies capture that feeling perfectly. They’re cheerful, colorful, and filled with flavor that warms your heart as much as your home.
Holiday Pinwheel Cookies Very Simple
Ingredients
- For the Dough:
- 1 cup 2 sticks unsalted butter, softened
- 1 cup granulated sugar
- 1 large egg
- 2 tsp vanilla extract
- 3 cups all-purpose flour
- ½ tsp baking powder
- ¼ tsp salt
- For the Festive Twist:
- Red gel food coloring
- Green gel food coloring
- Optional flavorings: peppermint extract almond extract, or cocoa powder
- Optional decorations: sprinkles or sanding sugar
Instructions
- Step 1: Make the Dough
- In a large bowl, cream together the butter and sugar until light and fluffy. Beat in the egg and vanilla extract until smooth.
- In a separate bowl, whisk together flour, baking powder, and salt. Gradually mix the dry ingredients into the wet mixture until a soft dough forms.
- Step 2: Divide and Color
- Split the dough evenly into two portions. Tint one half red and the other green using gel food coloring. Mix each until the color is evenly distributed.
- Step 3: Roll and Layer
- Roll each colored dough between two sheets of parchment paper into rectangles about ¼ inch thick. Stack one layer over the other, brushing a little water between them to help them stick.
- Starting from a long edge, roll tightly into a log to form your swirl.
- Step 4: Chill the Dough
- Wrap the dough log in plastic wrap and refrigerate for 1–2 hours (or overnight). Chilling keeps your swirls crisp when slicing.
- Step 5: Slice and Bake
- Preheat oven to 350°F (175°C). Line baking sheets with parchment paper.
- Slice chilled dough into ¼-inch rounds and place 1 inch apart on the baking sheet.
- Bake for 8–10 minutes, until the edges are just set but not browned.
- Step 6: Cool and Decorate
- Cool cookies on a wire rack. For extra flair, drizzle with melted white chocolate or roll edges in sprinkles before baking.
Notes
- Keep it cold: If dough softens, chill again before slicing to maintain clean spirals.
- Use gel coloring: It gives bold color without affecting dough texture.
- Cut cleanly: Use a sharp knife for crisp, even swirls.
- Don’t overbake: The cookies should stay soft — they’ll firm up as they cool.