Spring Bunny Dessert Cheese Ball
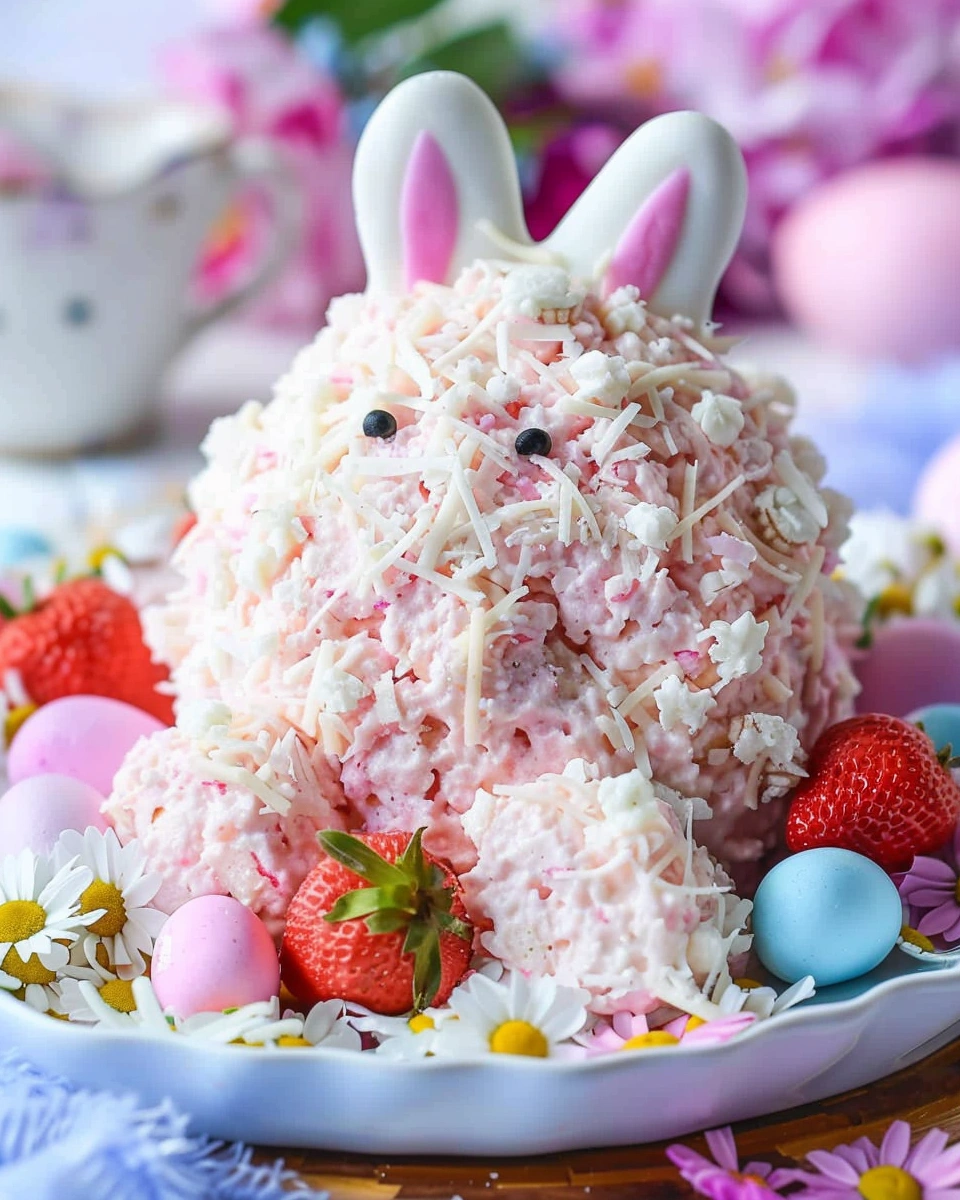
If you’re looking for an adorable, crowd-pleasing centerpiece for your spring table, this Spring Bunny Dessert Cheese Ball is guaranteed to steal the show. It’s sweet, creamy, coated in coconut, and shaped like a fluffy bunny — perfect for Easter or any spring celebration.
Sometimes holiday desserts can feel complicated or time-consuming. But this recipe is simple, no-bake, and easy to decorate. The creamy cheesecake-style center pairs beautifully with cookies, fruit, and graham crackers for dipping.
I’ve made this Spring Bunny Dessert Cheese Ball for Easter brunches and spring parties, and it’s always the first dessert to disappear. It’s fun, festive, and surprisingly easy to make.
In this post, you’ll learn how to get a smooth, creamy texture, shape the perfect bunny, decorate it easily, and store it properly.
Let’s make something adorable and delicious.
Why You’ll Love This Recipe
-
No-Bake & Easy – Minimal prep required.
-
Perfect for Easter & Spring Parties – Cute bunny shape.
-
Kid-Friendly & Fun – Great for decorating together.
-
Creamy Cheesecake Flavor – Sweet and rich.
-
Make-Ahead Friendly – Prep in advance.
The Spring Bunny Dessert Cheese Ball is as fun to make as it is to eat.
Ingredients & Prep
The base is a sweetened cream cheese mixture that’s easy to shape.
Main Ingredients Prep
-
16 oz cream cheese, softened
-
½ cup unsalted butter, softened
-
1 cup powdered sugar
-
1 teaspoon vanilla extract
-
¾ cup mini white chocolate chips
Make sure cream cheese and butter are fully softened for a smooth mixture.
Coating & Decoration
-
1 ½ cups sweetened shredded coconut
-
Pink sprinkles (for ears)
-
Mini chocolate chips (for eyes)
-
Pink candy or jelly bean (for nose)
-
Pretzel sticks or paper cutouts (for whiskers)
The coconut gives the bunny its fluffy look.
Pantry Staples
-
Powdered sugar
-
Vanilla extract
Optional add-ins:
-
Finely chopped pecans
-
Lemon zest for spring flavor
-
Crushed graham crackers mixed into base
Step-by-Step Instructions
This Spring Bunny Dessert Cheese Ball comes together in a few simple steps.
Mixing the Base
-
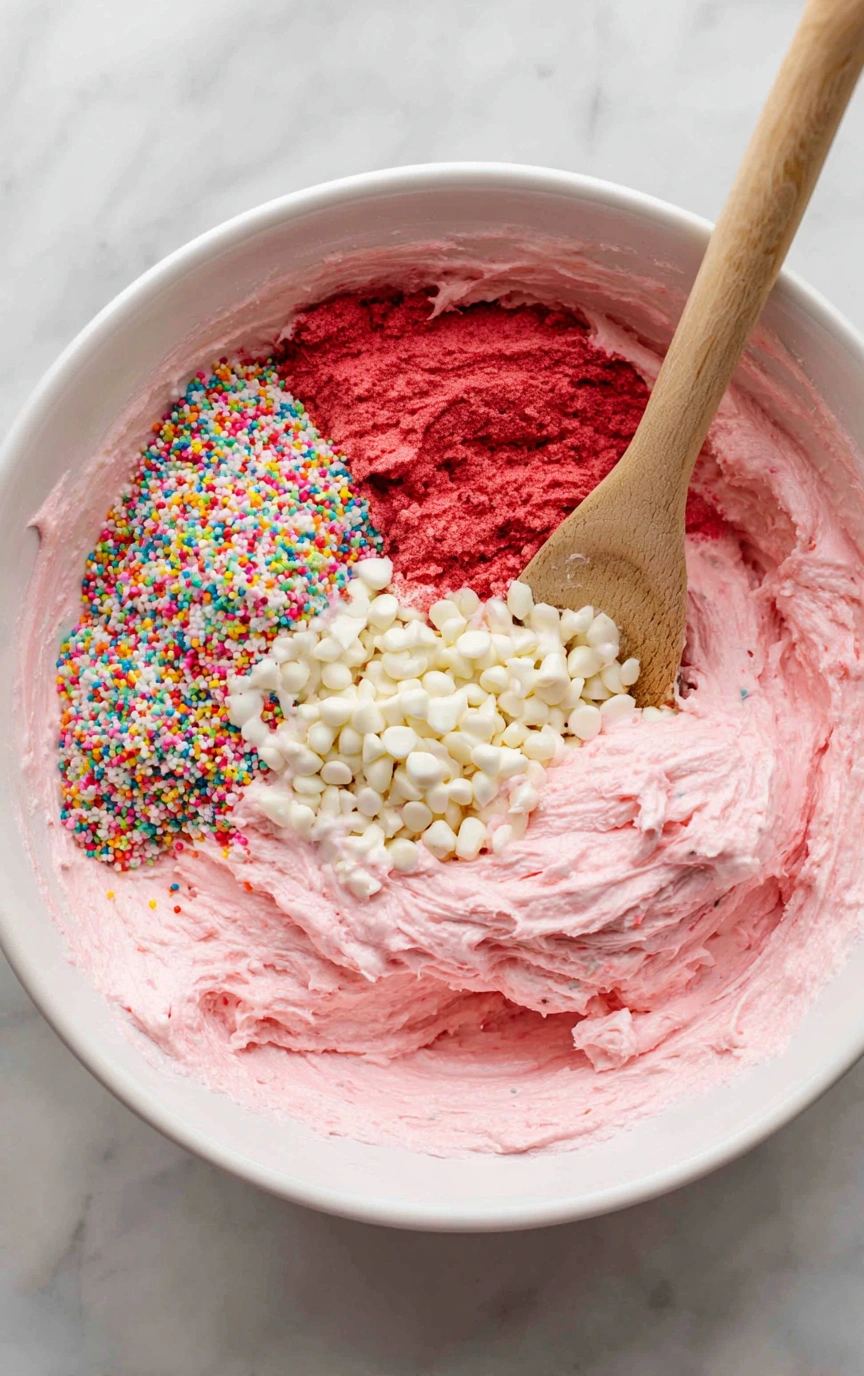
In a large bowl, beat softened cream cheese and butter until smooth and fluffy.
-
Add powdered sugar and vanilla extract.
-
Beat until fully combined and creamy.
-
Fold in mini white chocolate chips.
The mixture should be thick and spreadable.
Chilling
-
Cover and refrigerate mixture for 30–60 minutes.
Chilling makes shaping easier.
Shaping the Bunny
-
Remove mixture from fridge.
-
Form one large ball (body).
-
Form a smaller ball (head).
-
Attach head to body on serving plate.
Smooth seams gently with your hands or spatula.
Coating
-
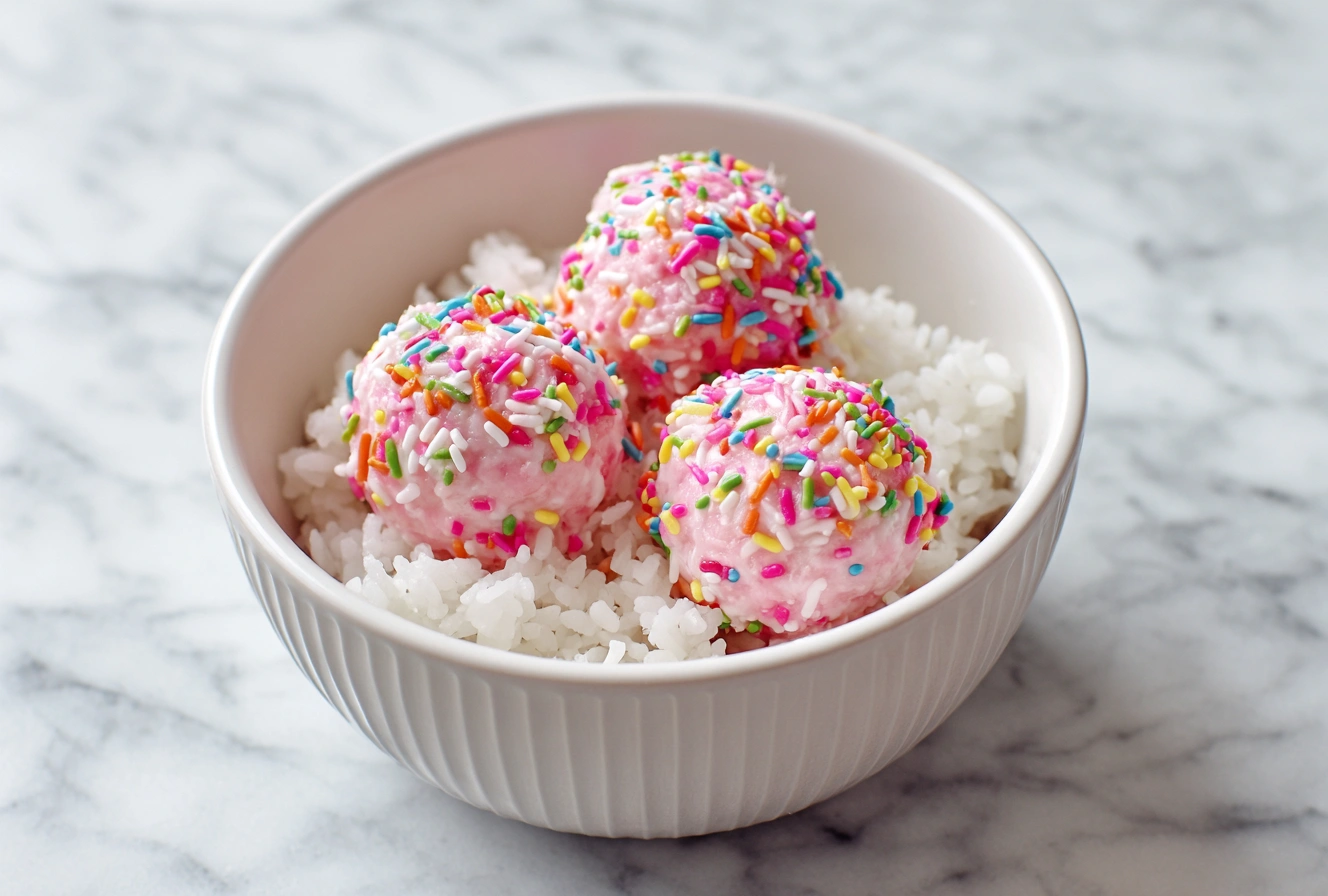
Press shredded coconut evenly over entire surface.
-
Gently pat to help it stick.
The coconut creates a soft “fur” effect.
Decorating
-
Use mini chocolate chips for eyes.
-
Add pink candy for nose.
-
Insert sprinkles inside ear shapes (use marshmallows or paper cutouts for ears).
-
Add pretzel sticks for whiskers if desired.
Get creative — no two bunnies look the same!
Texture & Doneness Check
The Spring Bunny Dessert Cheese Ball should be:
-
Firm enough to hold shape
-
Smooth and creamy inside
-
Evenly coated in coconut
Chill again for 15–30 minutes before serving if needed.
Pro Tips for Perfect Results
After making this multiple times, here’s what works best.
Common Mistakes to Avoid
-
Using cold cream cheese — causes lumps.
-
Skipping chill time — makes shaping messy.
-
Adding decorations before coating — they won’t stick well.
Chilling is key for clean shaping.
Recommended Tools
-
Hand mixer or stand mixer
-
Rubber spatula
-
Mixing bowl
-
Serving platter
Disposable gloves help shape smoothly.
Storage Tips
-
Store covered in refrigerator up to 3 days.
-
Remove from fridge 10–15 minutes before serving for easier spreading.
-
Do not freeze (texture may change).
The Spring Bunny Dessert Cheese Ball is best served chilled but soft enough to scoop.
Flavor Variations
This dessert is easy to customize.
Strawberry Bunny Version
-
Mix in ¼ cup finely chopped freeze-dried strawberries.
-
Add pink food coloring for pastel look.
Chocolate Lover’s Version
-
Add ¼ cup mini chocolate chips.
-
Drizzle melted chocolate over coconut.
Healthier Option
-
Use reduced-fat cream cheese.
-
Reduce powdered sugar slightly.
-
Use unsweetened coconut.
Each variation keeps the adorable base of the Spring Bunny Dessert Cheese Ball.
Serving Suggestions
This bunny pairs perfectly with dippers.
Sweet Dippers
-
Graham crackers
-
Vanilla wafers
-
Shortbread cookies
-
Pretzels
Fresh Options
-
Strawberries
-
Apple slices
-
Pineapple chunks
Party Display Idea
-
Arrange on a platter with green shredded coconut “grass.”
-
Surround with pastel candies.
-
Add edible flowers for a spring theme.
It makes a beautiful table centerpiece.
FAQs
Can I make this ahead of time?
Yes! The Spring Bunny Dessert Cheese Ball can be made up to 24 hours in advance. Store covered in the refrigerator and decorate the day of serving for best appearance.
How do I fix common mistakes?
Too soft?
Chill longer before shaping.
Too firm?
Let sit at room temperature 10 minutes.
Not sweet enough?
Add a little extra powdered sugar.
Coconut not sticking?
Press gently and roll again.
Small adjustments easily fix texture.
Conclusion
This Spring Bunny Dessert Cheese Ball is sweet, creamy, and absolutely adorable. It’s the perfect no-bake dessert for Easter, spring brunches, or any festive gathering.
With simple ingredients and easy decorating, you’ll have a charming centerpiece that tastes just as good as it looks. Many readers say it becomes a yearly tradition after the first time they make it.
If you loved this recipe, check out my other fun holiday desserts for more easy, crowd-pleasing ideas.
Spring Bunny Dessert Cheese Ball
Ingredients
- Cheesecake Base
- 16 oz cream cheese softened
- ½ cup unsalted butter softened
- 1 cup powdered sugar
- 1 teaspoon vanilla extract
- ¾ cup mini white chocolate chips
- Coating
- 1 ½ cups sweetened shredded coconut
- Decorations
- Mini chocolate chips eyes
- Pink candy or jelly bean nose
- Pink sprinkles for ears
- Pretzel sticks whiskers
- Optional Add-Ins
- Finely chopped pecans
- Lemon zest
- Crushed graham crackers
Instructions
- Mix the Base
- In a large bowl, beat softened cream cheese and butter until smooth and fluffy.
- Add powdered sugar and vanilla extract. Beat until creamy.
- Fold in mini white chocolate chips.
- Chill
- Cover mixture and refrigerate for 30–60 minutes until firm enough to shape.
- Shape the Bunny
- Form one large ball for the body and one smaller ball for the head.
- Place on serving platter and gently press together.
- Smooth seams with clean hands or spatula.
- Coat with Coconut
- Press shredded coconut evenly over the entire surface to create a fluffy look.
- Decorate
- Add mini chocolate chips for eyes and a pink candy for the nose.
- Create ears using marshmallows or paper cutouts decorated with pink sprinkles.
- Insert pretzel sticks for whiskers if desired.
- Chill Again
- Refrigerate 15–30 minutes before serving to firm up.
Notes
- Ensure cream cheese and butter are fully softened for a smooth mixture.
- Chill thoroughly before shaping to prevent stickiness.
- Decorate just before serving for best appearance.
- Store covered in refrigerator up to 3 days.
- Remove from fridge 10–15 minutes before serving for easier spreading.