Cherry Garcia Ice Cream Recipe: Ultimate Cherry Swirl Delight
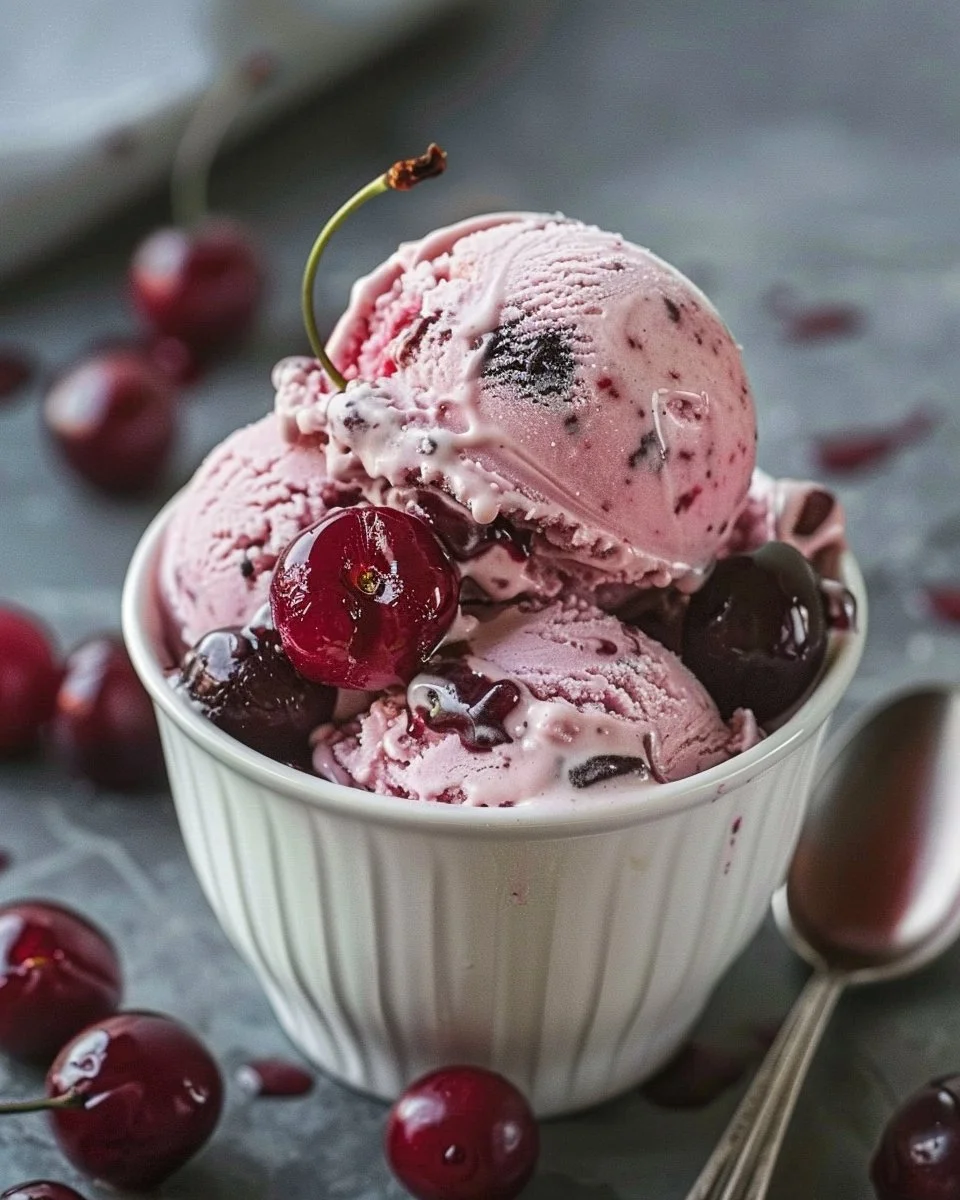
If you’ve ever dreamt of a dessert that perfectly captures the essence of summer and radiates pure joy, look no further than Cherry Garcia Ice Cream. Named after the legendary Grateful Dead guitarist Jerry Garcia, this iconic flavor blends creamy vanilla ice cream with rich cherries and delightful fudge flakes, creating a symphony of taste that truly exhilarates the senses. Whether you’re winding down after a long day, celebrating a special occasion, or simply treating yourself, Cherry Garcia offers a delicious escape that has become a classic favorite.
But what makes Cherry Garcia so special? Today, we’ll dive deep into this beloved ice cream flavor, exploring its unique ingredients, an easy homemade recipe for you to try, and some creative serving ideas. So grab your spoons and let’s dig in!
A Flavor Profile Like No Other
Cherry Garcia stands out because of its harmonious blend of flavors and textures. Let’s break down what makes this ice cream so unique:
- Vanilla Base: The creamy vanilla ice cream acts as a rich canvas that allows the other ingredients to shine.
- Cherries: Juicy, sun-ripened cherries impart a burst of fruity freshness with every bite, creating a beautiful contrast to the ice cream’s sweetness.
- Fudge Flakes: Adding a delightful crunch, the fudge flakes provide both flavor and texture, making each spoonful an adventure.
These delightful combinations not only tantalize the taste buds but also evoke fond memories of summer days, making Cherry Garcia Ice Cream a nostalgic choice for many.
Why You Should Try Making Your Own Cherry Garcia Ice Cream
You might be wondering why you should make Cherry Garcia Ice Cream at home when it’s readily available at grocery stores? Here are a few compelling reasons:
- Control Over Ingredients: Making it yourself means you can choose high-quality, organic ingredients and adjust sugar levels to suit your taste.
- Customizable Recipe: You can tweak the flavors, add extras like nuts, or even make it dairy-free.
- Creative Fun: Crafting your own ice cream can be a fun activity for families or friends, adding a sense of accomplishment when you enjoy the final product.
With just a few simple ingredients, you can create a treat that brings joy to your taste buds and your heart.

Ingredients for Homemade Cherry Garcia Ice Cream
To whip up your own delicious batch of Cherry Garcia Ice Cream, you’ll need the following:
- 2 cups heavy cream
- 1 cup whole milk
- 3/4 cup granulated sugar
- 1 teaspoon pure vanilla extract
- 1 cup pitted cherries (fresh or frozen)
- 1/2 cup fudge sauce (store-bought or homemade)
Simple Steps to Scoop Up Cherry Garcia Magic
Ready to dive into making your own Cherry Garcia Ice Cream? Follow these easy steps for creamy, dreamy results:
- Prepare the Ice Cream Base:
- In a mixing bowl, whisk together the heavy cream, whole milk, and granulated sugar until the sugar is fully dissolved.
- Stir in the vanilla extract.
- Chill the Mixture:
- Cover the bowl and place it in the refrigerator, allowing it to chill for at least 2 hours (or overnight for best results).
- Churn the Ice Cream:
- Once chilled, pour the mixture into your ice cream maker and churn according to manufacturer instructions. This usually takes about 20-25 minutes.
- Add the Cherries and Fudge:
- During the last few minutes of churning, add the pitted cherries and fudge sauce. Mix until evenly dispersed.
- Freeze:
- Transfer the ice cream to an airtight container and freeze for at least 4 hours, or until it reaches your desired firmness.
- Serve:
- Scoop, serve, and enjoy your homemade Cherry Garcia Ice Cream!
Expert Tips for the Perfect Scoop
To ensure that your Cherry Garcia Ice Cream turns out amazing, here are some professional tips:
- Fresh Cherries: If using fresh cherries, choose ripe, sweet ones for the best flavor. Don’t hesitate to experiment with other fruits like strawberries or raspberries for a twist!
- Fudge Sauce: Homemade fudge sauce can elevate your ice cream experience. Consider melting dark chocolate with a bit of cream to create a luscious drizzle.
- Avoid Over-Churning: Be careful not to over-churn the ice cream mixture, as it can lead to a grainy texture. Once it thickens and has some volume, it’s usually ready.
- Let It Rest: Allowing your ice cream to sit at room temperature for a few minutes before scooping makes serving easier.
Creative Serving Ideas for Cherry Garcia Ice Cream
Not only is Cherry Garcia Ice Cream delightful on its own, but it also shines as part of various desserts. Here are some serving ideas to elevate your ice cream game:
- Ice Cream Sundae: Layer Cherry Garcia with whipped cream and a cherry on top for a classic sundae experience.
- Milkshakes: Blend Cherry Garcia with milk for a refreshing shake that captures summer in a glass.
- Cherry Garcia Brownie Parfait: Layer chunks of brownie with scoops of Cherry Garcia and a drizzle of fudge in a glass for a decadent treat.
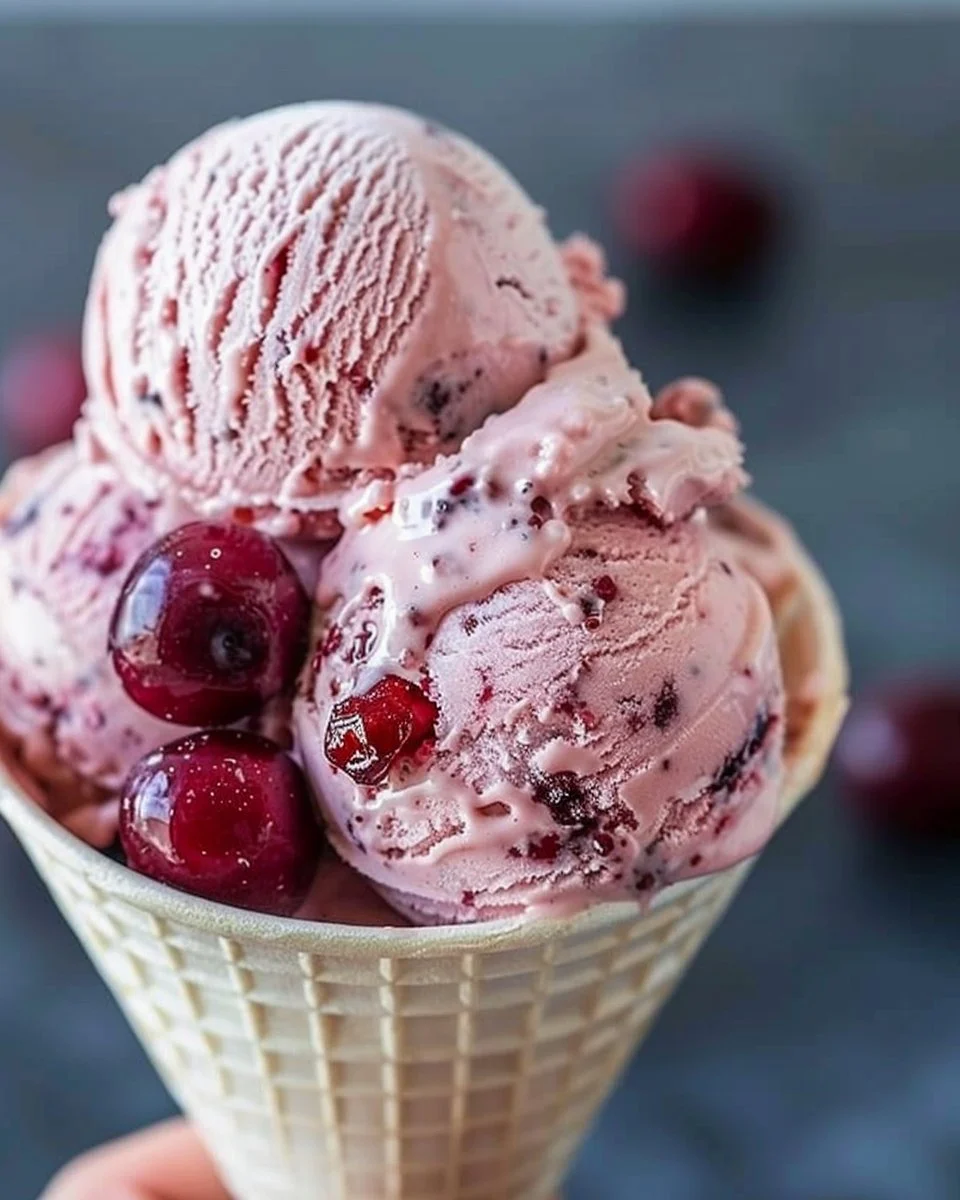
- Waffle Cones: Scoop into waffle cones, drizzle with extra fudge, and sprinkle with chopped nuts for added crunch.
Storage Tips for Your Homemade Ice Cream
To maintain the creaminess of your homemade Cherry Garcia Ice Cream, keep these storage tips in mind:
- Airtight Container: Always use an airtight container to store your ice cream in the freezer to prevent ice crystals from forming.
- Temperature Matters: Try to keep your freezer at a consistent temperature to ensure your ice cream remains at the desired firmness.
- Avoid Rapid Changes: Try not to move the ice cream in and out of the freezer too much, as temperature fluctuations can affect texture.
FAQs About Cherry Garcia Ice Cream
What is Cherry Garcia Ice Cream?
Cherry Garcia is a flavor of ice cream that combines vanilla ice cream with cherries and fudge flakes, inspired by Grateful Dead guitarist Jerry Garcia.
How can I make Cherry Garcia Ice Cream without an ice cream maker?
You can create a no-churn version by whisking together the ingredients, pouring them into a container, and freezing them, stirring every 30 minutes for the first few hours.
What kind of cherries are best for Cherry Garcia Ice Cream?
Both fresh and frozen sweet cherries work wonderfully! If you’re using fresh ones, make sure they are ripe and flavorful for the best taste.
Can I customize my Cherry Garcia Ice Cream recipe?
Absolutely! Feel free to experiment with different fruits, chocolate types, and even add-ins like nuts or cookies.
How long does homemade Cherry Garcia Ice Cream last?
When stored properly in an airtight container, it can last in the freezer for about 1 to 2 weeks. For the best texture, try to consume it within a week.
Sweetly Summing Up the Cherry Garcia Experience
Creating your own Cherry Garcia Ice Cream is not just about indulging in a creamy treat; it’s about crafting memories, sharing joy, and enjoying the process of making something special. Whether you savor it on its own or pair it creatively with other foods, this ice cream is a canvas for your culinary artistry. So, the next time the craving hits or summer beckons, you know exactly what to scoop up!
Cherry Garcia Ice Cream
Ingredients
Ice Cream Base
- 2 cups heavy cream Use high-quality cream for best results.
- 1 cup whole milk
- 3/4 cup granulated sugar Adjust sugar to taste.
- 1 teaspoon pure vanilla extract
Mix-ins
- 1 cup pitted cherries (fresh or frozen) Choose ripe cherries for the best flavor.
- 1/2 cup fudge sauce (store-bought or homemade) Homemade sauce can enhance flavor.
Instructions
Preparation
- In a mixing bowl, whisk together the heavy cream, whole milk, and granulated sugar until the sugar is fully dissolved.
- Stir in the vanilla extract.
Chill the Mixture
- Cover the bowl and place it in the refrigerator, allowing it to chill for at least 2 hours (or overnight for best results).
Churn the Ice Cream
- Once chilled, pour the mixture into your ice cream maker and churn according to manufacturer instructions. This usually takes about 20-25 minutes.
Add the Cherries and Fudge
- During the last few minutes of churning, add the pitted cherries and fudge sauce. Mix until evenly dispersed.
Freeze
- Transfer the ice cream to an airtight container and freeze for at least 4 hours, or until it reaches your desired firmness.
Serve
- Scoop, serve, and enjoy your homemade Cherry Garcia Ice Cream!